We have to clean up the panel in preperation of forming the bottom of the panel. There are lots of little bits of resin left on the panel from the bag removal.

It was decided to remove the small bit of resin that had been deposited on the lower section of the panel. This is the area that will be formed to make the bottom of the hull. A random orbital sander makes short work of this and does not damage the foam.

This closeup shows how the resin penetrates between two sheets of foam. You can see the resin goes right to the bottom of the foam and meets up with the resin that fills the glass on the outside of the panel.

The panel is now clean and all the excess resin on the lower part of the panel has been removed.


We have to cut the foam to allow the required shape to take place. A series of cuts are done from stem to stern with a skill saw. We are removing a kerf the thickness of the saw blade. Derek would like to see a "V" shaped kerf as it makes it easier to fill later and allows more space for the panel to bend. If you know you are going to do this, you might be able to purchase a "V" shaped blade or possibly make one. As we did not have one or have the time to make one, a standard blade was used.
The cut lines were drawn between the upper and lower tangent lines previously marked on the panel. They are approximately 1 inch apart and run the complete length of the panel. They penetrate about half way through the foam.
We are again using the full length batten to cut the kerfs. Lots of weights and help needed here.

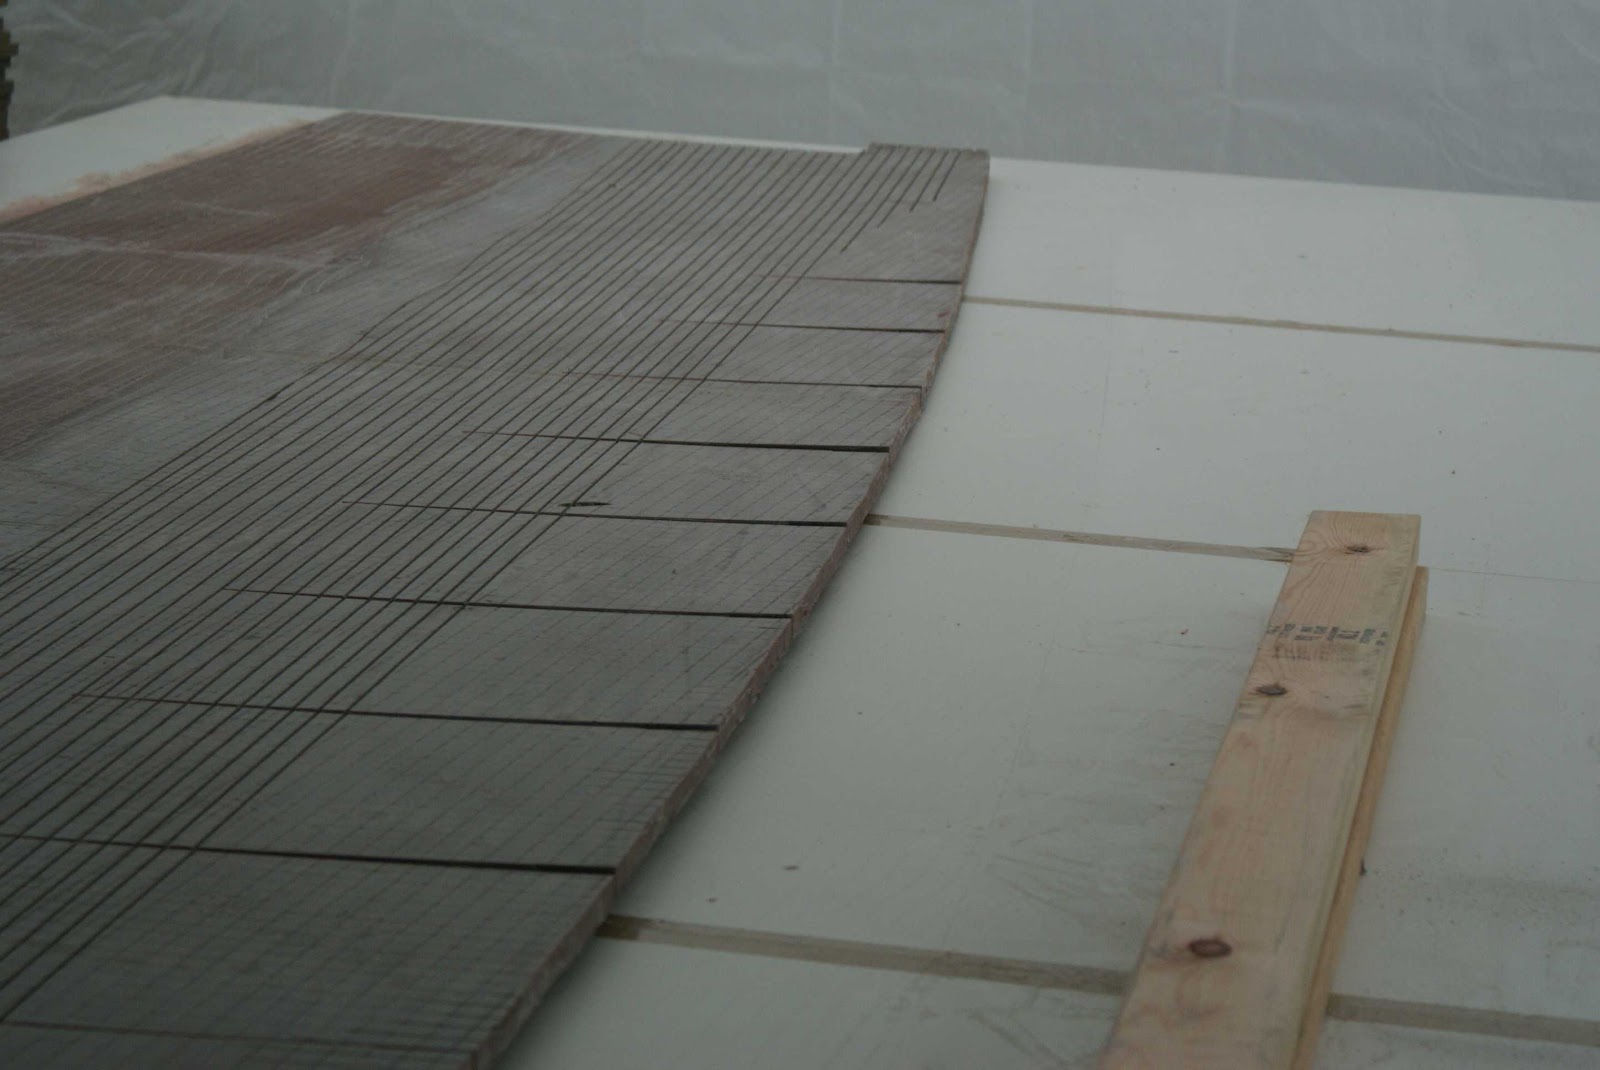
We had an interesting thing happen right at the start of this operation. You will notice the wavy line in the first kerf made, on the right side of the picture. Steve had a normal wood cutting blade in the saw and when he started to cut the kerf, the blade heated up and distorted and caused the saw to wonder all over the place. This would not do so what was wrong? Interestingly, I had the same experience cutting scarfs in a long piece of plywood. One of the guys suggested getting a carbide blade with sufficient cooling holes in the blade to prevent this happening again. A good quality saw blade was purchased, with the cooling holes spaced around the blade and it cut nice straight lines.

The kerfs are cut about half way through the foam. This is the stern view.

Here they run off the panel at the stem.

Now we come to the second set of cuts to be made. These cuts are called "darts" and are cut right through the panel, including the glass on the outside of the panel. When you pull the form into the panel, there is rocker formed in the bottom. This means the panel shape must rise to the bow and well as the stern. Cutting the darts removes enough material for the rocker to be placed in the panel. The darts are marked on the panel from the template information. Careful not to cut the table underneath the panel!

We were going to cut the darts with the skill saw but the kerf was way too large. The rest of this dart and the others were cut with the jig saw.

OK, the panel has all the cuts necessary to pull the shape into it. It looks like it is already trying to take the shape we want as the edge is lifting off the table.

Even with the straight sided kerfs in the foam, the panel bends with a nice fair curve.


We had an interesting thing happen right at the start of this operation. You will notice the wavy line in the first kerf made, on the right side of the picture. Steve had a normal wood cutting blade in the saw and when he started to cut the kerf, the blade heated up and distorted and caused the saw to wonder all over the place. This would not do so what was wrong? Interestingly, I had the same experience cutting scarfs in a long piece of plywood. One of the guys suggested getting a carbide blade with sufficient cooling holes in the blade to prevent this happening again. A good quality saw blade was purchased, with the cooling holes spaced around the blade and it cut nice straight lines.

The kerfs are cut about half way through the foam. This is the stern view.

Here they run off the panel at the stem.

Now we come to the second set of cuts to be made. These cuts are called "darts" and are cut right through the panel, including the glass on the outside of the panel. When you pull the form into the panel, there is rocker formed in the bottom. This means the panel shape must rise to the bow and well as the stern. Cutting the darts removes enough material for the rocker to be placed in the panel. The darts are marked on the panel from the template information. Careful not to cut the table underneath the panel!

We were going to cut the darts with the skill saw but the kerf was way too large. The rest of this dart and the others were cut with the jig saw.

OK, the panel has all the cuts necessary to pull the shape into it. It looks like it is already trying to take the shape we want as the edge is lifting off the table.
Even with the straight sided kerfs in the foam, the panel bends with a nice fair curve.

No comments:
Post a Comment