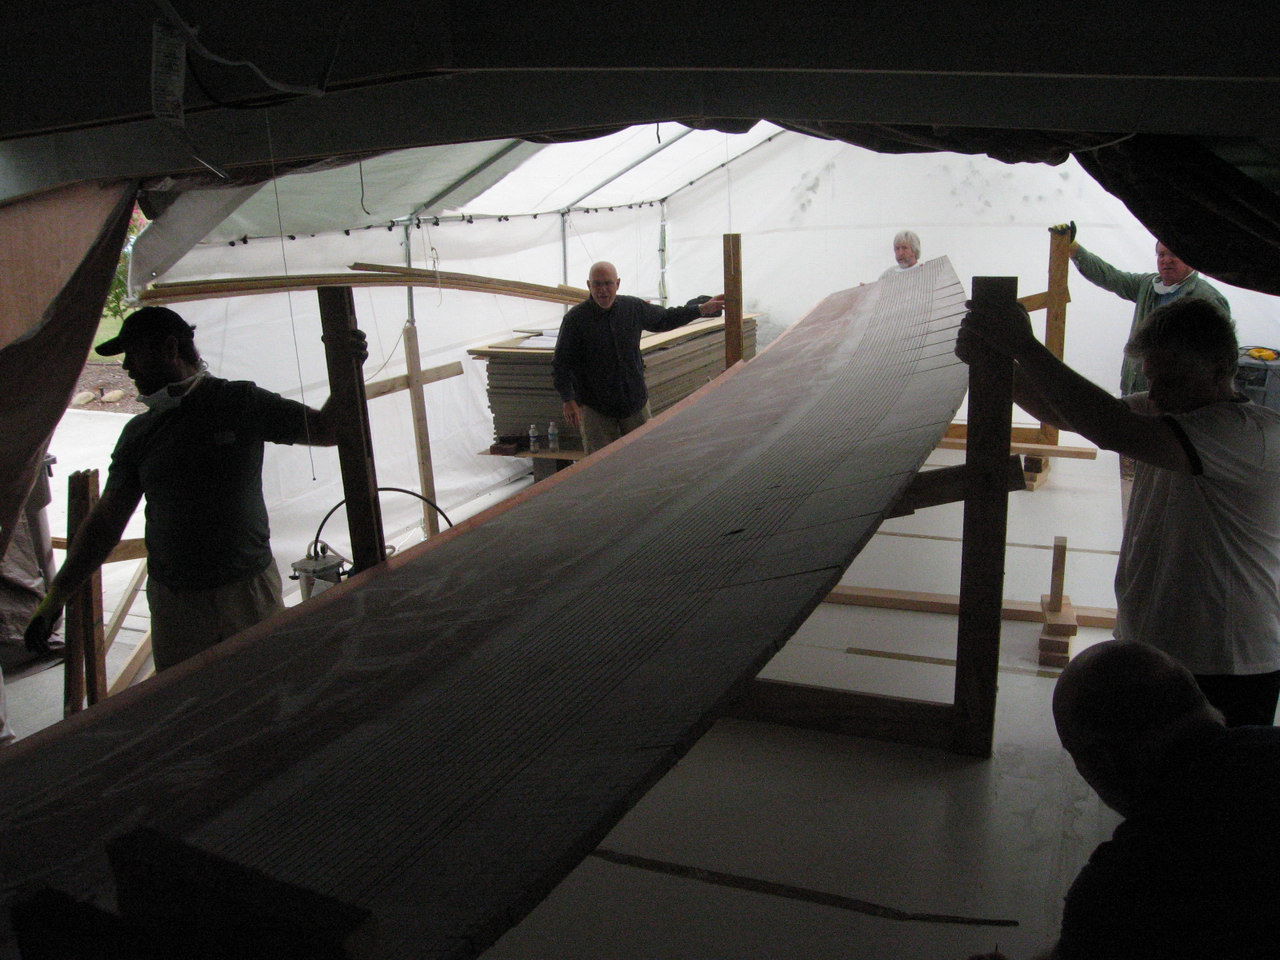
Now that we have a finished panel, we have to get it off the table and store it somewhere for use later. Steve has prepared an area to stand the panels up to store them out of the way.

This framework will support the panel and keep it upright. View from the front of the first panel in the frame. Doesn't look very big, does it?

How about this view?

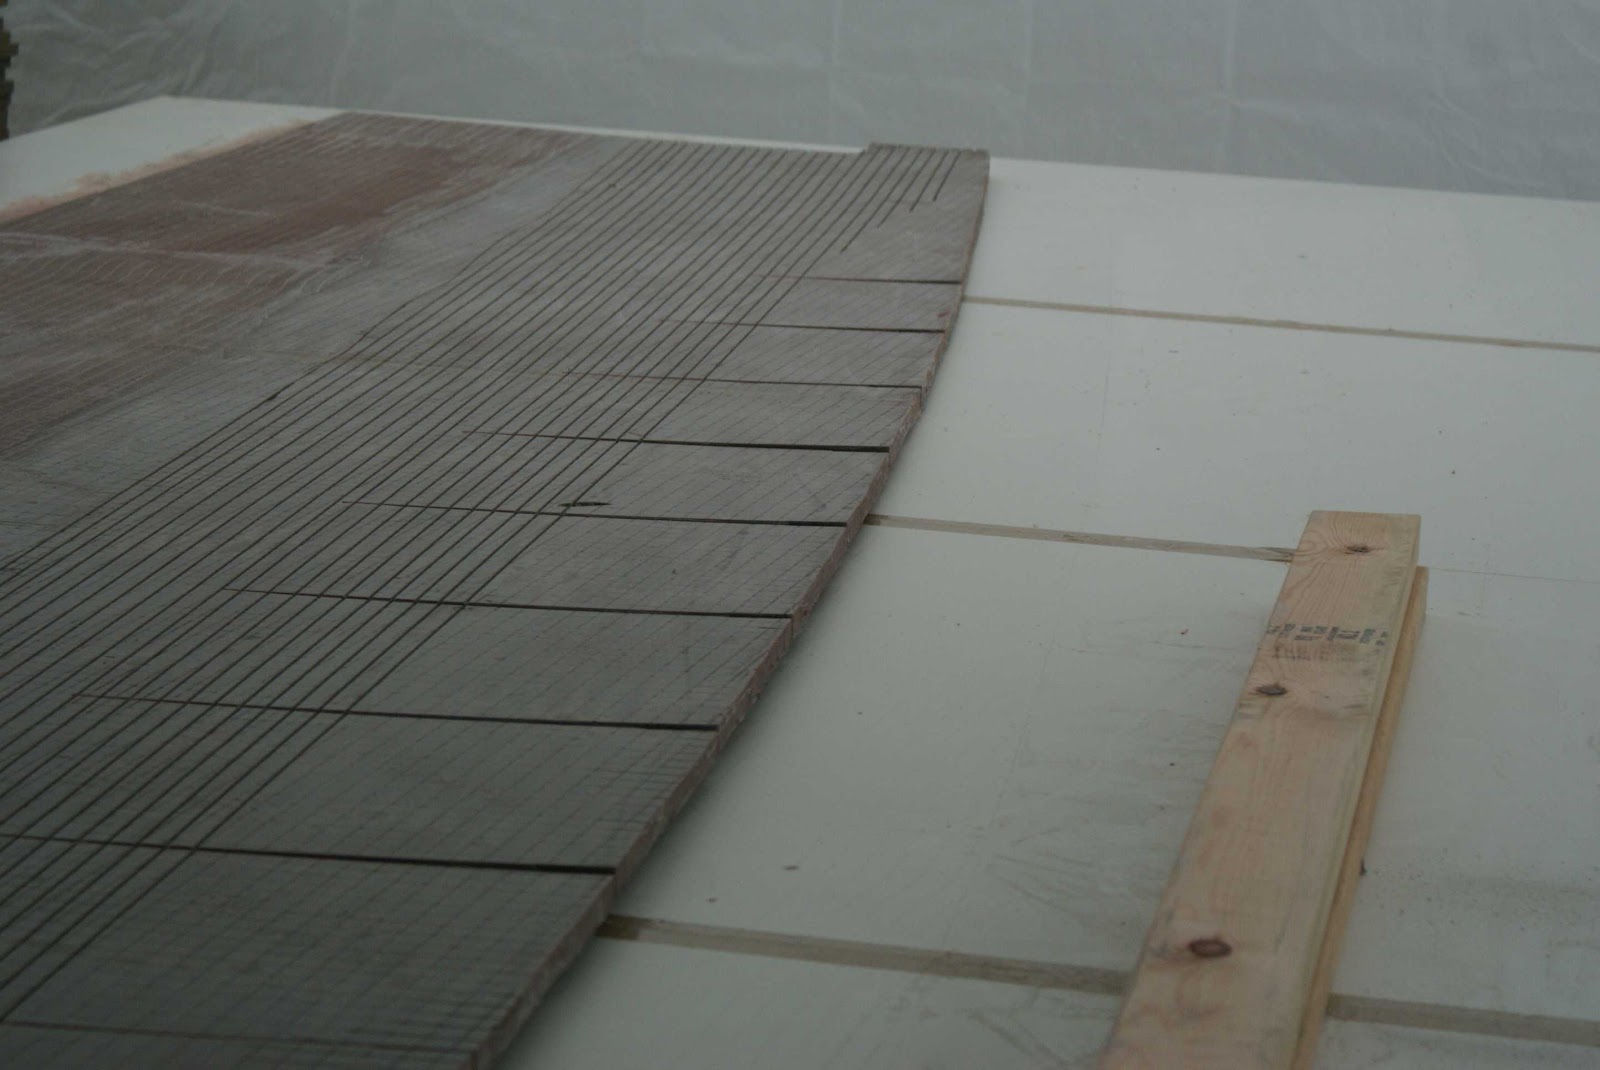
So there you have it. From starting with a waxed table to a completed panel ready to join up with it's mate to give us a hull. Not bad for a few hours work. Here are the times for the first and second panel as provided by the builders, Steve and Larisa.
Go to http://www.ksstennesseeworkshop2010.com/photos to see the photos of the workshop. Click on user galleries to see all the albums.
Well, we did it. We built half a 42 foot catamaran hull in 15 hours. It took another 8 hours the next day to shape the bottom of the hull so all up 25 hours. Of course Steve and Larisa had done a lot of prep work so that when we arrived, it was full steam ahead on the building of the hull. Nevertheless, if the other half took another 25 hours and maybe another 10 hours to join the two halves together, 60 hours to build one hull is unbelievable.
OK, back to reality. The 15 hours to build the half hull is really 15 X 7 people = 105 hours if you are doing this yourself and the 8 hours of shaping is 8 X 7 people = 56 hours. Still, 161 hours of effort to produce one half of a 42 foot hull is amazing. So, let's see 161 hours for one half, plus 161 for the second half and say 80 hours to join the two halves together is 402 hours.
Now a lot of the people there were not always busy and there was a lot of gabbing going on, about how this works and how that works so I would estimate one person working along could build one hull in 200 hours.
Of course the hulls are not the whole boat and there is a lot of structure to be built after the hulls are complete but in my boat, the hulls are the major component of the boat as there is no center accommodations to consider. This could save me a couple of years of build time.

My calculations were way out to lunch. Steve and Larisa have completed a second half hull and here are the times in Steve's own words.
Let's see. Two people
Two easy days to cut and prepare
Cut and prepare foam
Rough cut glass
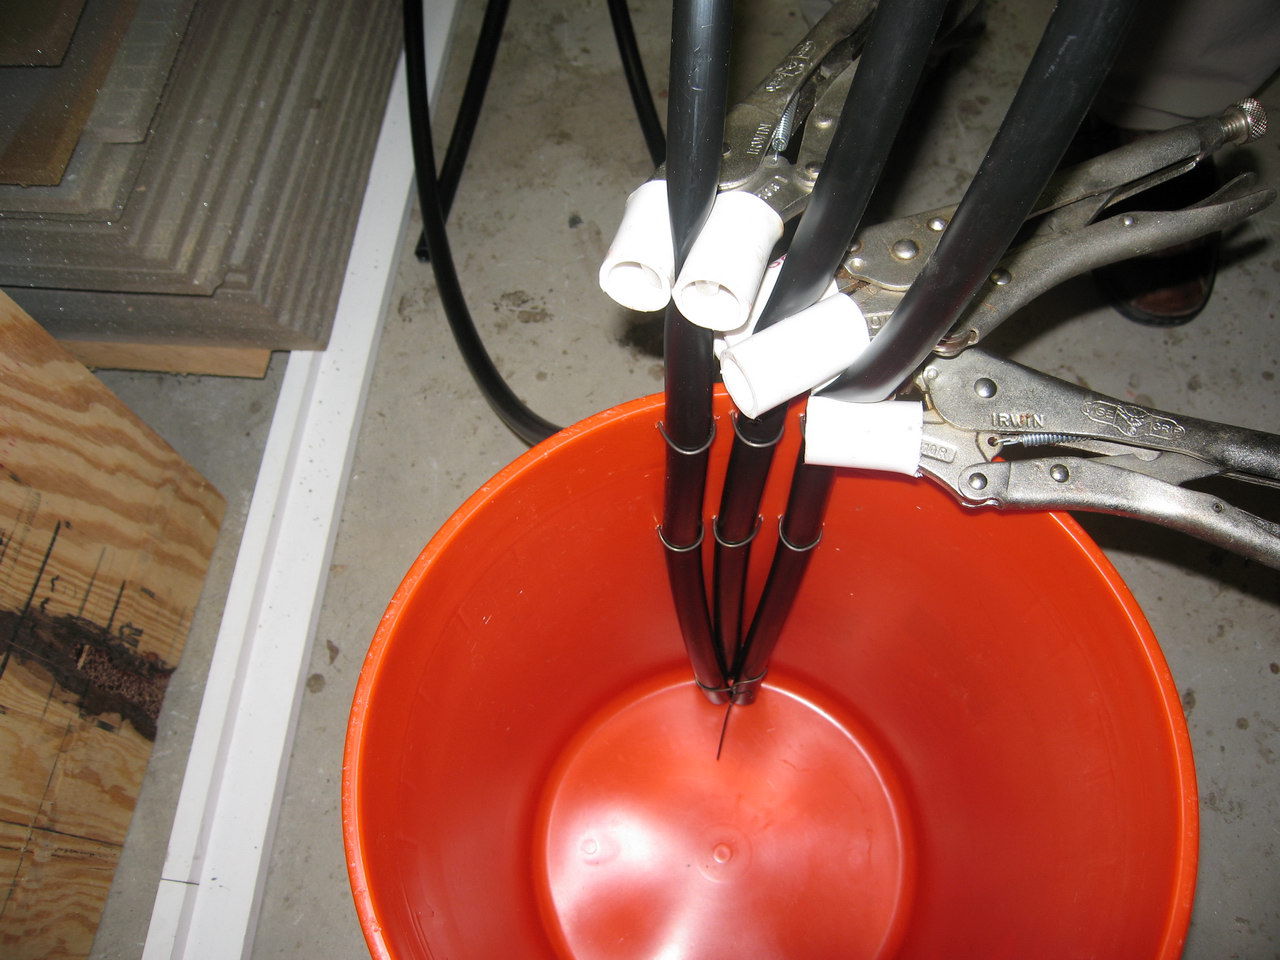
Prepare tubing
Gel coat the night before infusion
14 hrs
One day to infuse
7 hrs
Remove bag, peel ply, etc
2 hrs
One day to groove and put on frames -3 hrs
One day to bend and glass -5 hrs
Remove from forms and take outside about 3 hrs
Extra help 5 hrs ;-)))
Computer planning 2 hrs - used the Turbo-cad program to calculate the fiberglass cuts and resin line lengths.
14+7+2+3+3+5+5+2= 41 = 40-50 hrs
When working we do not waste much time.
The bending is real fast and easy.
Larisa and I raised the panel onto the forms by ourselves. A couple 2x4s and concrete blocks helped.
Larisa and I removed all but the last 4 forms but had help for 30 minutes to lower to table and haul to back yard. 6 people can easily carry a half hull. With a good two wheeled wheel barrel I think two people could move it, definitely 4.
2nd panel easier than first.

So.....we are looking at 40 - 50 hours for two dedicated people to build half a hull or 100 hours for two people or 200 hours for one person to build two half hulls. Of course even two people need a bit of extra help once in a while and the two have to be joined together. But really........the small amount of time spent to this stage is ridiculous to anyone who has built a hull the conventional way.
And this is our happy builders.